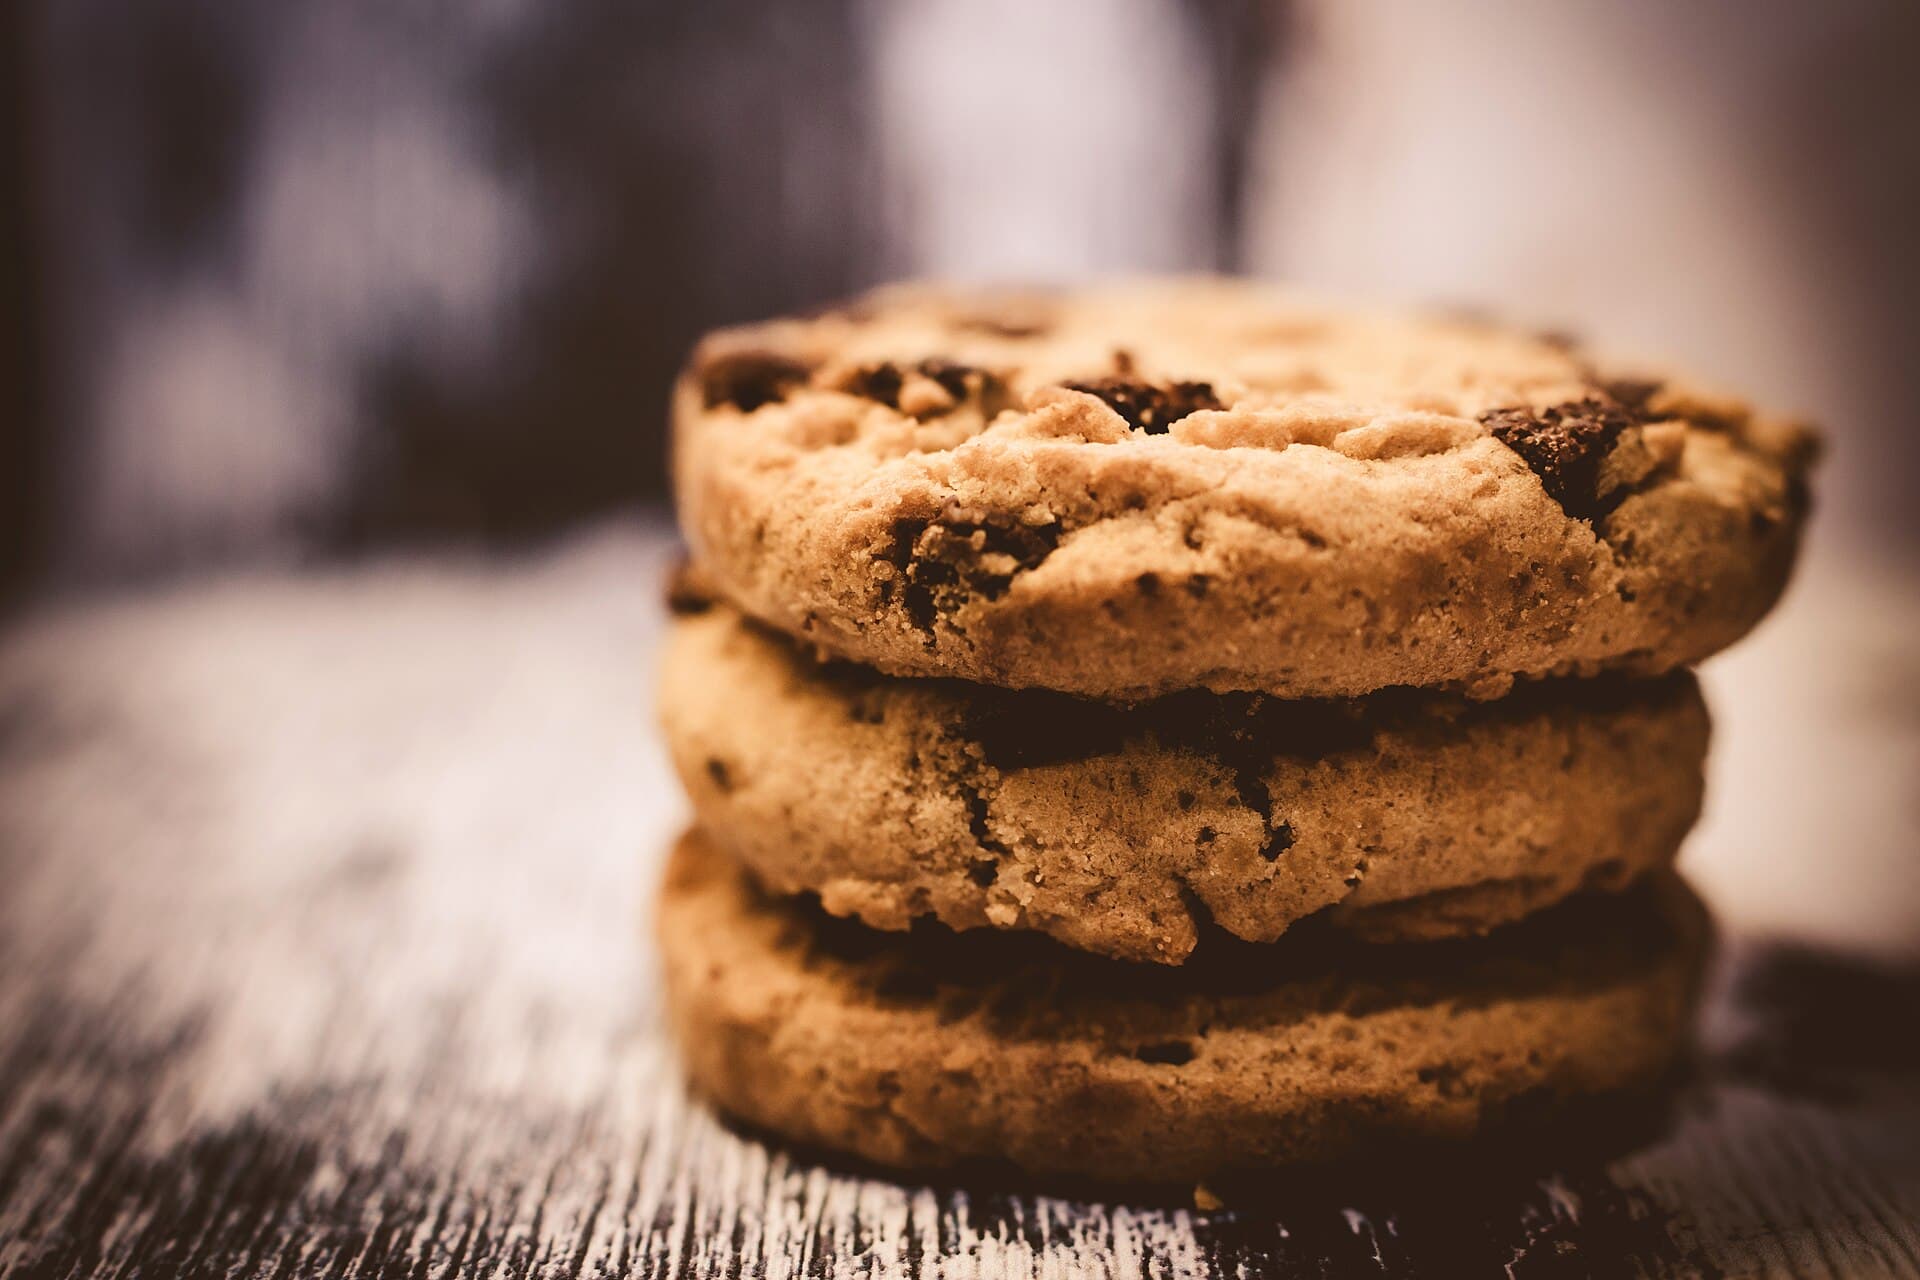
There are recipes you cook, and there are recipes you hand around. Chocolate chip cookies belong firmly to the second group: a tray of them, still warm, is the fastest way to make a shared kitchen smell like home, and the easiest way to start a conversation with the people down the corridor.
They are also one of the most forgiving bakes there is. Two bowls, one oven, ingredients you can find in any supermarket, and about half an hour from the moment you soften the butter to the moment you are eating the first one. No special equipment, no proving, no tempering, nothing that can really go wrong if you follow the steps.
This version follows the original Nestlé Toll House recipe, the one that has been printed on Nestlé chocolate packaging since 1939 and that every other chocolate chip cookie descends from. The only difference is that we have converted it from US cups and Fahrenheit into grams and Celsius, and added a few notes on finding the right ingredients in a European, and especially Italian, supermarket.
A Short History
The chocolate chip cookie was born in Whitman, Massachusetts, at the Toll House Inn, which Ruth Graves Wakefield ran with her husband, Kenneth. In the 1930s she began adding pieces of chopped semi-sweet chocolate to a butter cookie dough, and the recipe first appeared in print in the 1938 edition of her cookbook, Toll House Tried and True Recipes, under the name "Toll House Chocolate Crunch Cookies".
You may have heard that it was all an accident, that she ran out of nuts, or expected the chocolate to melt into the dough. It is a lovely story, but food historians are sceptical, and Wakefield's own account of how she came up with it was different.
What is certain is what happened next. In 1939 the recipe started appearing on the wrappers of Nestlé chocolate bars, and around 1940 Nestlé began selling chocolate "morsels", small drops made specifically for baking. Wakefield later said she was promised one dollar for her recipe, and stories about a lifetime supply of chocolate have been told ever since, although neither has ever been confirmed. In 1997, the chocolate chip cookie became the official state cookie of Massachusetts.
Ingredients
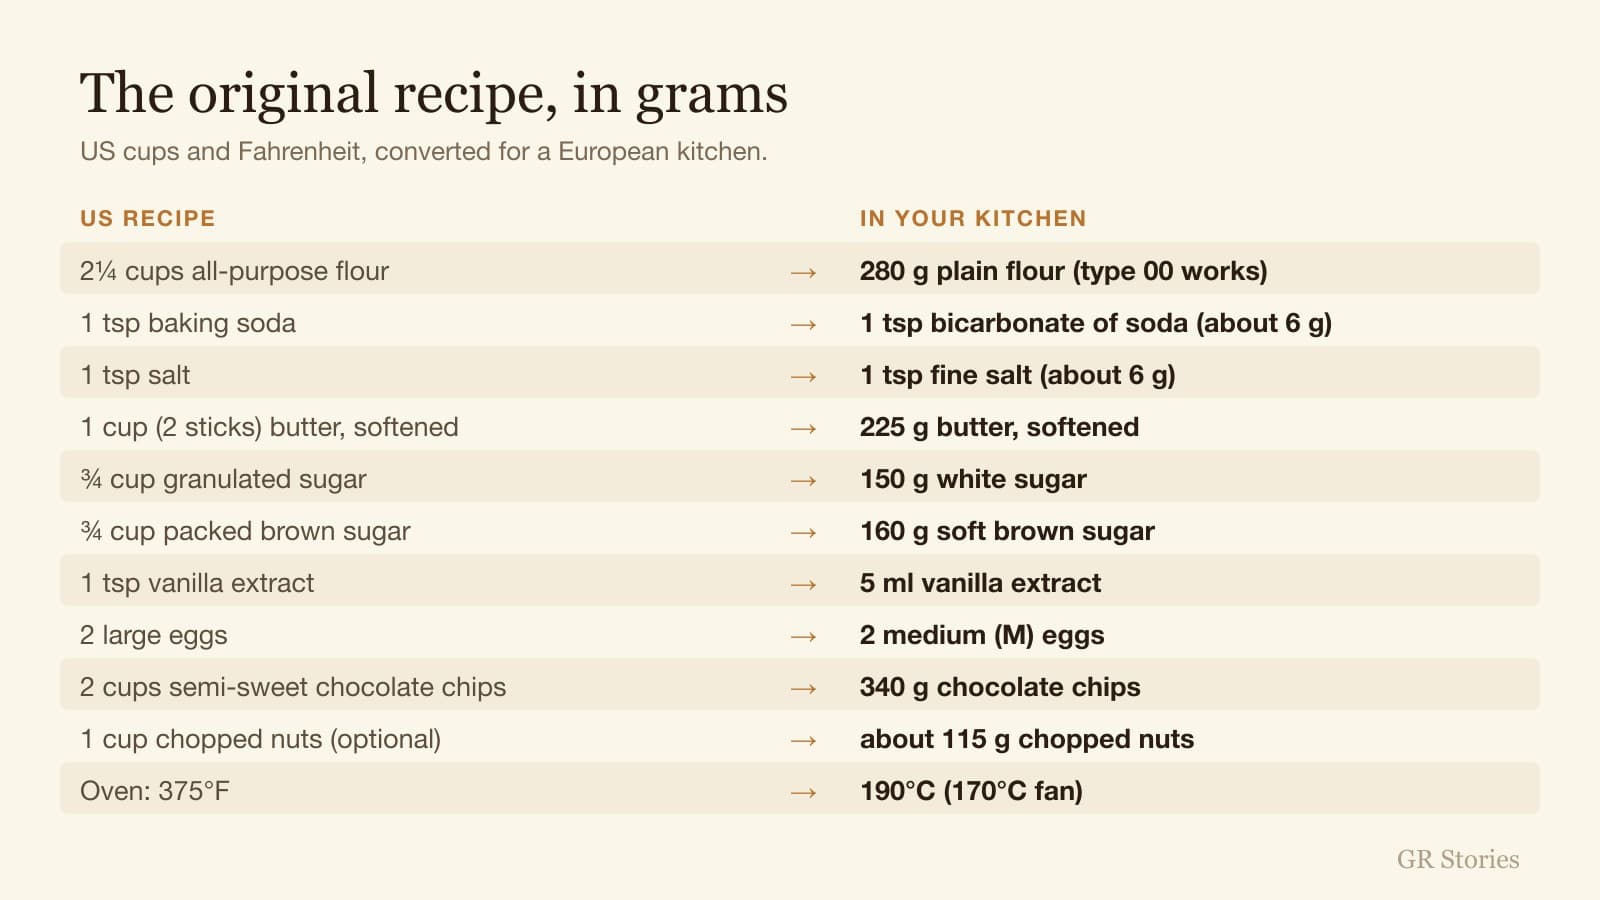
Makes about 5 dozen small cookies. Preparation: 15 minutes. Baking: 9–11 minutes per tray.
- 280 g plain flour (all-purpose flour; Italian type 00 works perfectly)
- 1 teaspoon bicarbonate of soda (baking soda)
- 1 teaspoon fine salt
- 225 g butter, softened at room temperature
- 150 g white sugar
- 160 g soft brown sugar, firmly packed
- 1 teaspoon (5 ml) vanilla extract
- 2 medium eggs, the European equivalent of US large eggs
- 340 g chocolate chips (semi-sweet or dark)
- About 115 g chopped nuts, such as walnuts or pecans (optional). If you leave them out, the original recipe suggests adding 1–2 extra tablespoons of flour.
You will also need two bowls, an electric whisk (or a wooden spoon and some patience), a couple of baking trays, a tablespoon and a wire rack.
A Note on Ingredients (Especially in Europe)
If you are baking this in Italy or elsewhere in Europe, a few American ingredients do not translate directly. Here is what to look for.
Brown sugar. American brown sugar is soft and moist, because it contains molasses, and that is what gives these cookies their chewy texture and caramel flavour. The zucchero di canna you find on most Italian shelves is usually a dry, light, crystalline sugar: it works, but your cookies will be crisper and less chewy. For a result closer to the original, look for soft light brown sugar or light muscovado (sometimes sold as zucchero di canna integrale). Dark muscovado works too, with a stronger, almost toffee-like flavour.
Bicarbonate of soda, not baking powder. The recipe uses bicarbonate of soda, bicarbonato di sodio in Italian, which helps the cookies spread and brown. Do not swap it for lievito per dolci, the Italian baking powder, which is often vanilla-flavoured: it makes the cookies puffy and cake-like.
Flour. American all-purpose flour corresponds to plain flour. In Italy, type 00 or type 0 flour is perfect. Weigh it rather than measuring by volume: too much flour is the most common reason for dry, cakey cookies.
Butter. It must be soft, not melted: if you press it with a finger, it should leave a dent without turning greasy. Take it out of the fridge about an hour before you start.
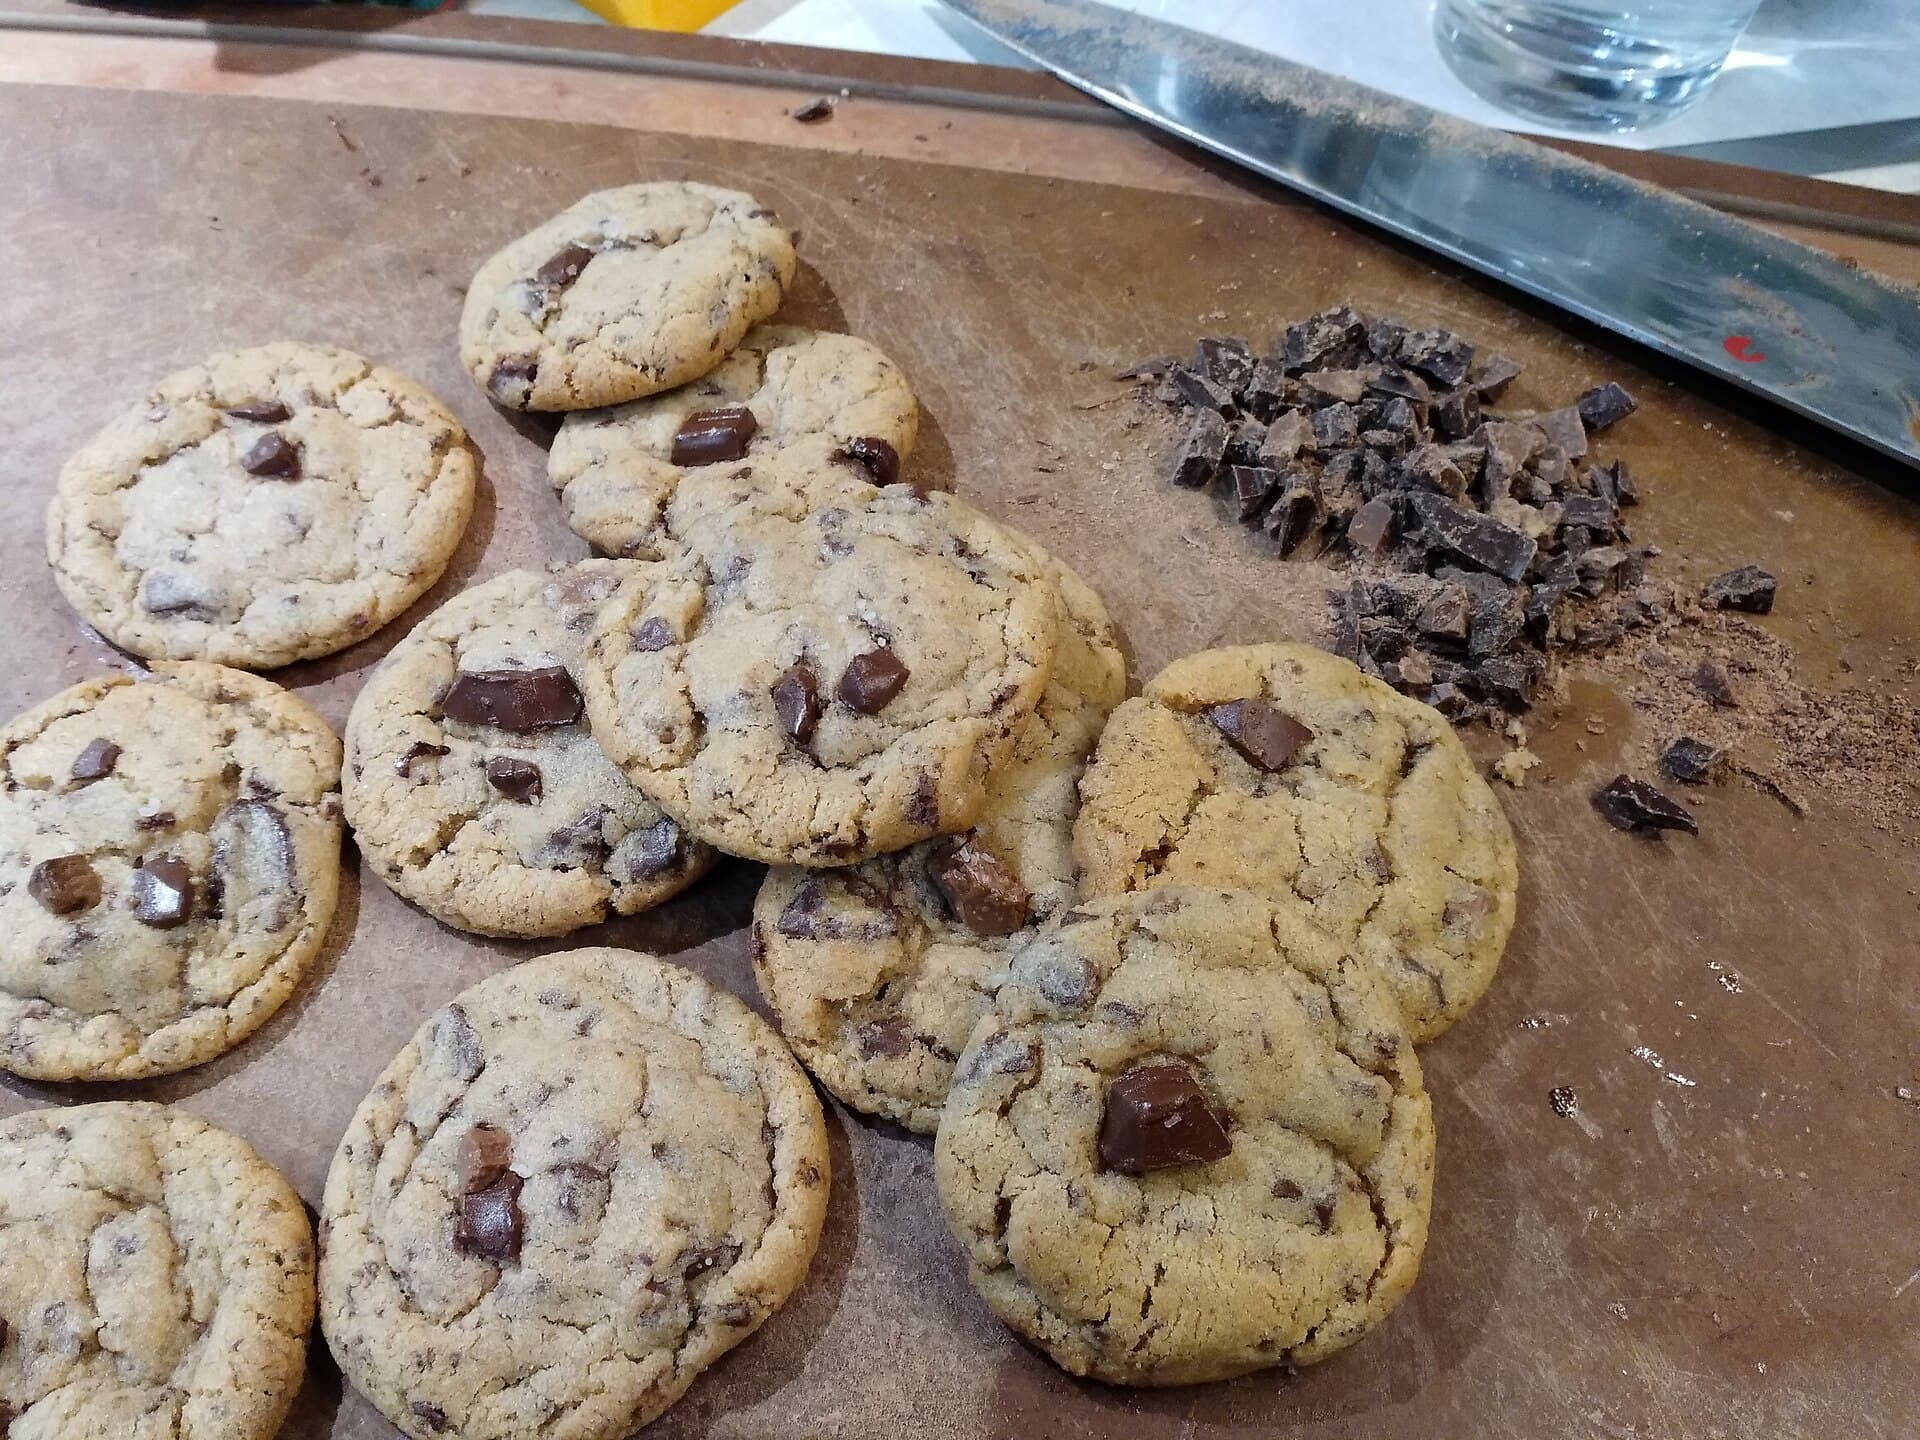
Chocolate. The gocce di cioccolato sold in Italian supermarkets are made to hold their shape in the oven and are exactly what you need. You can also chop a bar of good dark chocolate instead: the cookies will have melted pools and shards of chocolate instead of neat chips, which is not worse, just different.
Vanilla. If you cannot find vanilla extract, a sachet of vanillina, the vanilla powder sold next to the baking powder in Italian supermarkets, will do the job.
Method
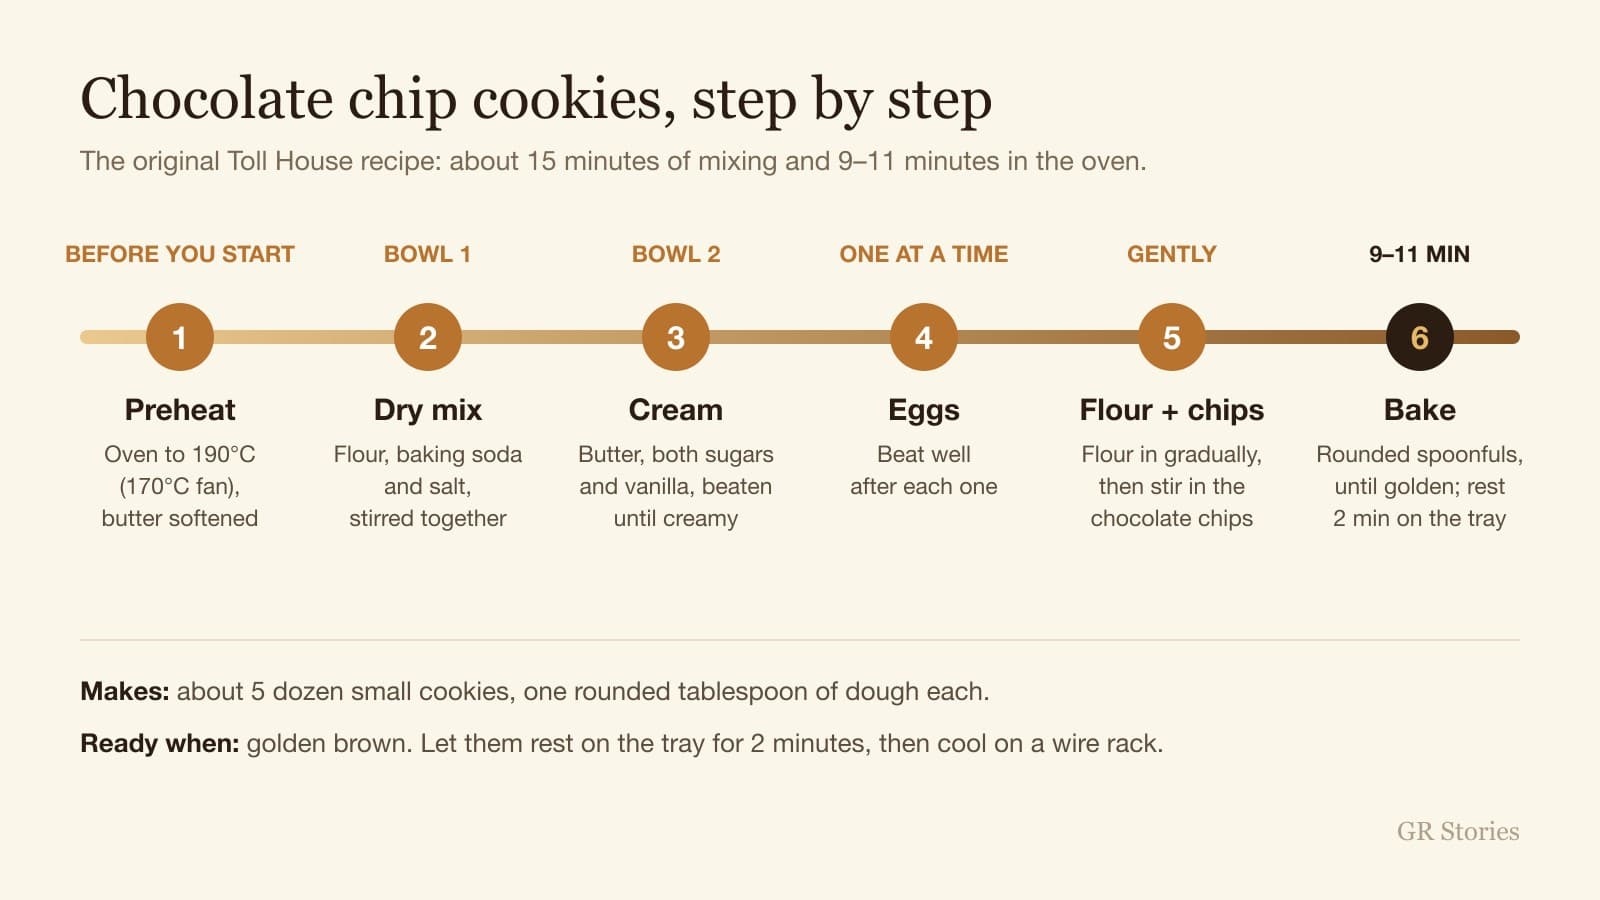
The whole process takes about 15 minutes of work, plus 9–11 minutes in the oven for each tray. Read the steps once before you start, and get everything weighed out first.
Step 1 — Preheat the oven
Preheat the oven to 190°C (375°F), or 170°C if you have a fan oven. Make sure the butter has had time to soften.
Step 2 — Mix the dry ingredients
In a small bowl, stir together the flour, the bicarbonate of soda and the salt. Set aside.
Step 3 — Cream the butter and sugars
In a large bowl, beat the softened butter, the white sugar, the brown sugar and the vanilla extract until creamy, pale and fluffy. With an electric whisk, this takes a couple of minutes; by hand, a little longer.
Step 4 — Add the eggs
Add the eggs one at a time, beating well after each addition, so that they are fully absorbed before the next one goes in.
Step 5 — Add the flour, then the chocolate
Gradually beat in the flour mixture, just until it disappears into the dough. Then stir in the chocolate chips, and the nuts if you are using them. From this point, stir rather than beat: overworking the dough makes tougher cookies.
Step 6 — Shape the cookies
Drop rounded tablespoons of dough onto ungreased baking trays, or trays lined with baking paper if you prefer, leaving space between them, because they spread as they bake.
Step 7 — Bake
Bake for 9 to 11 minutes, until golden brown. They will still look slightly soft in the middle when you take them out, and that is exactly right: they firm up as they cool.
Step 8 — Cool
Leave the cookies on the trays for 2 minutes, then move them to a wire rack to cool completely. No rack? The metal grill from your oven, once cooled, works just as well.
If you are baking in batches, let the trays cool down before you put the next round of dough on them: dough on a hot tray starts melting before it reaches the oven, and the cookies spread too much.
Two Variations from the Original Recipe
The original recipe comes with two variations, and both are great news for a student kitchen.
Pan cookies. If you only have one baking tray, or no patience for batches, make bars instead. Preheat the oven to 175°C (350°F), or about 155°C with a fan. Grease a baking tray of about 38 × 25 cm, spread the dough evenly in it and bake for 20 to 25 minutes, until golden brown. Let it cool in the tray on a wire rack, then cut it into bars: you will get about four dozen.
Slice and bake. Divide the dough in half and wrap each half in baking paper. Refrigerate for an hour, until firm, then shape each half into a log about 38 cm long, wrap it again and refrigerate for another 30 minutes. When you want cookies, preheat the oven to 190°C, cut the log into slices just over 1 cm thick, and bake them on ungreased trays for 8 to 10 minutes, until golden. According to the original recipe, the logs keep for up to a week in the fridge and up to 8 weeks in the freezer, which means warm cookies whenever you want them, a few at a time.
Storage
Once completely cool, keep the cookies in an airtight tin or container at room temperature and eat them within a few days. They will slowly lose their crisp edges, but they rarely last long enough for that to be a problem.
The unbaked dough keeps for up to a week in the fridge and up to 8 weeks in the freezer, either as logs or as balls ready to bake. Frozen balls can go straight into the oven: just give them an extra minute or two.
Common Mistakes (and How to Avoid Them)
- Melted butter. Butter that is too warm makes greasy, flat cookies. Soft, but still holding its shape, is what you want.
- Baking powder instead of bicarbonate. Italian lievito per dolci makes the cookies puffy and cakey. Use bicarbonato di sodio.
- Too much flour. Measuring flour in cups, or packing it down, easily adds too much. Weigh it.
- Overbaking. Take them out when they are golden but still soft in the middle. They keep cooking on the tray for the next 2 minutes.
- Crowded trays. The dough spreads, and cookies placed too close together merge into one giant cookie. Leave space.
- Hot trays. Putting dough on a tray straight out of the oven makes it melt and spread. Let the trays cool between batches.
Variations Worth Trying
- Chopped chocolate. Replace the chips with a bar of dark chocolate, roughly chopped, for melted pools and crisp shards.
- A pinch of flaky sea salt. Sprinkle a few flakes on each cookie before it goes into the oven. Salt and chocolate are a famous pairing for a reason.
- Rest the dough. Many bakers swear by chilling the dough in the fridge for a few hours, or overnight, before baking. The cookies spread less and the flavour deepens.
- Mix the nuts. Walnuts and pecans are the classics, but hazelnuts, perhaps the most Italian choice of all, work beautifully too.
What to Serve with Them
The American classic is a glass of cold milk, ideally with the cookies still slightly warm. In Italy, an espresso does the job just as well.
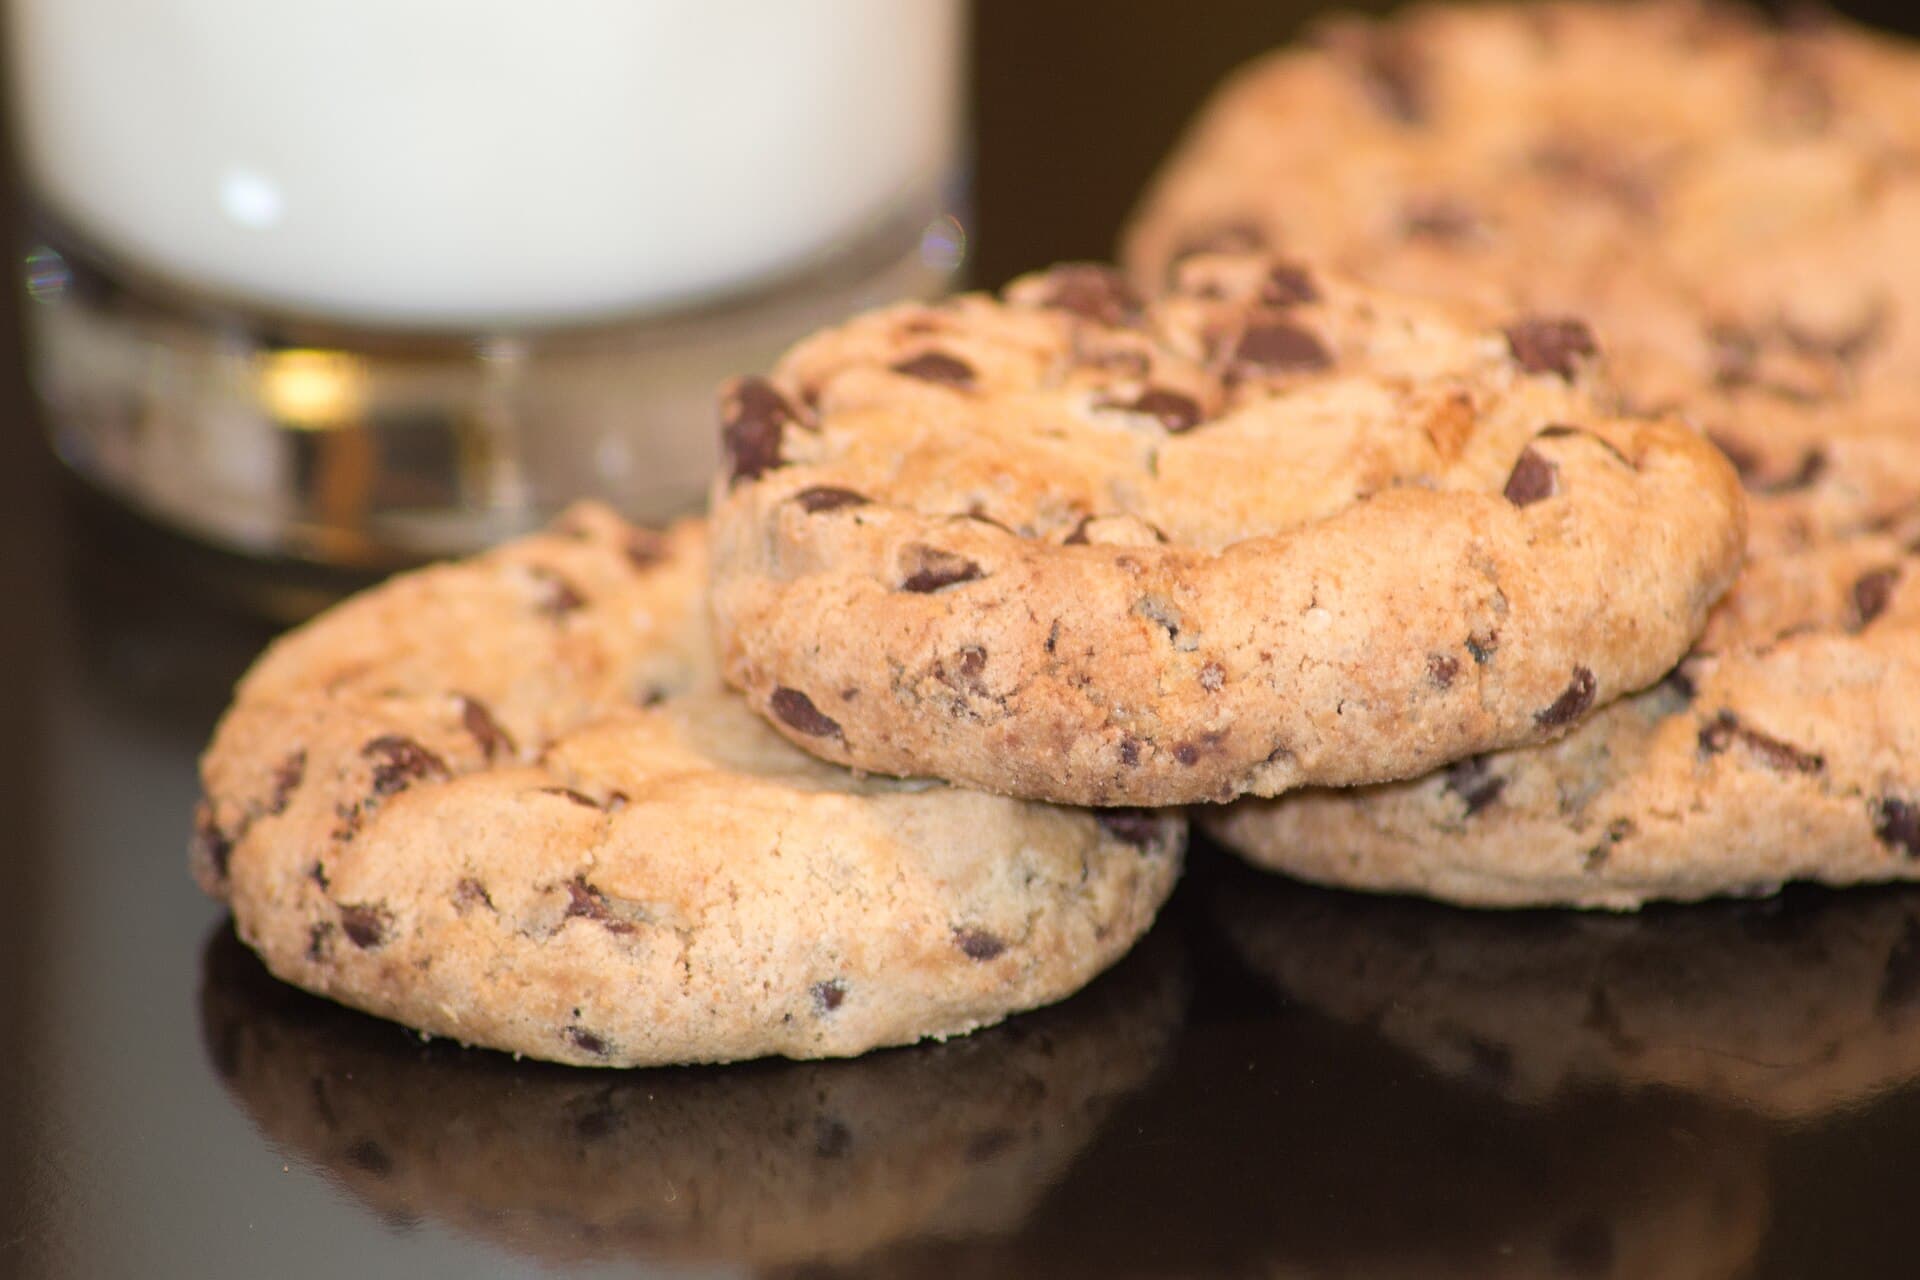
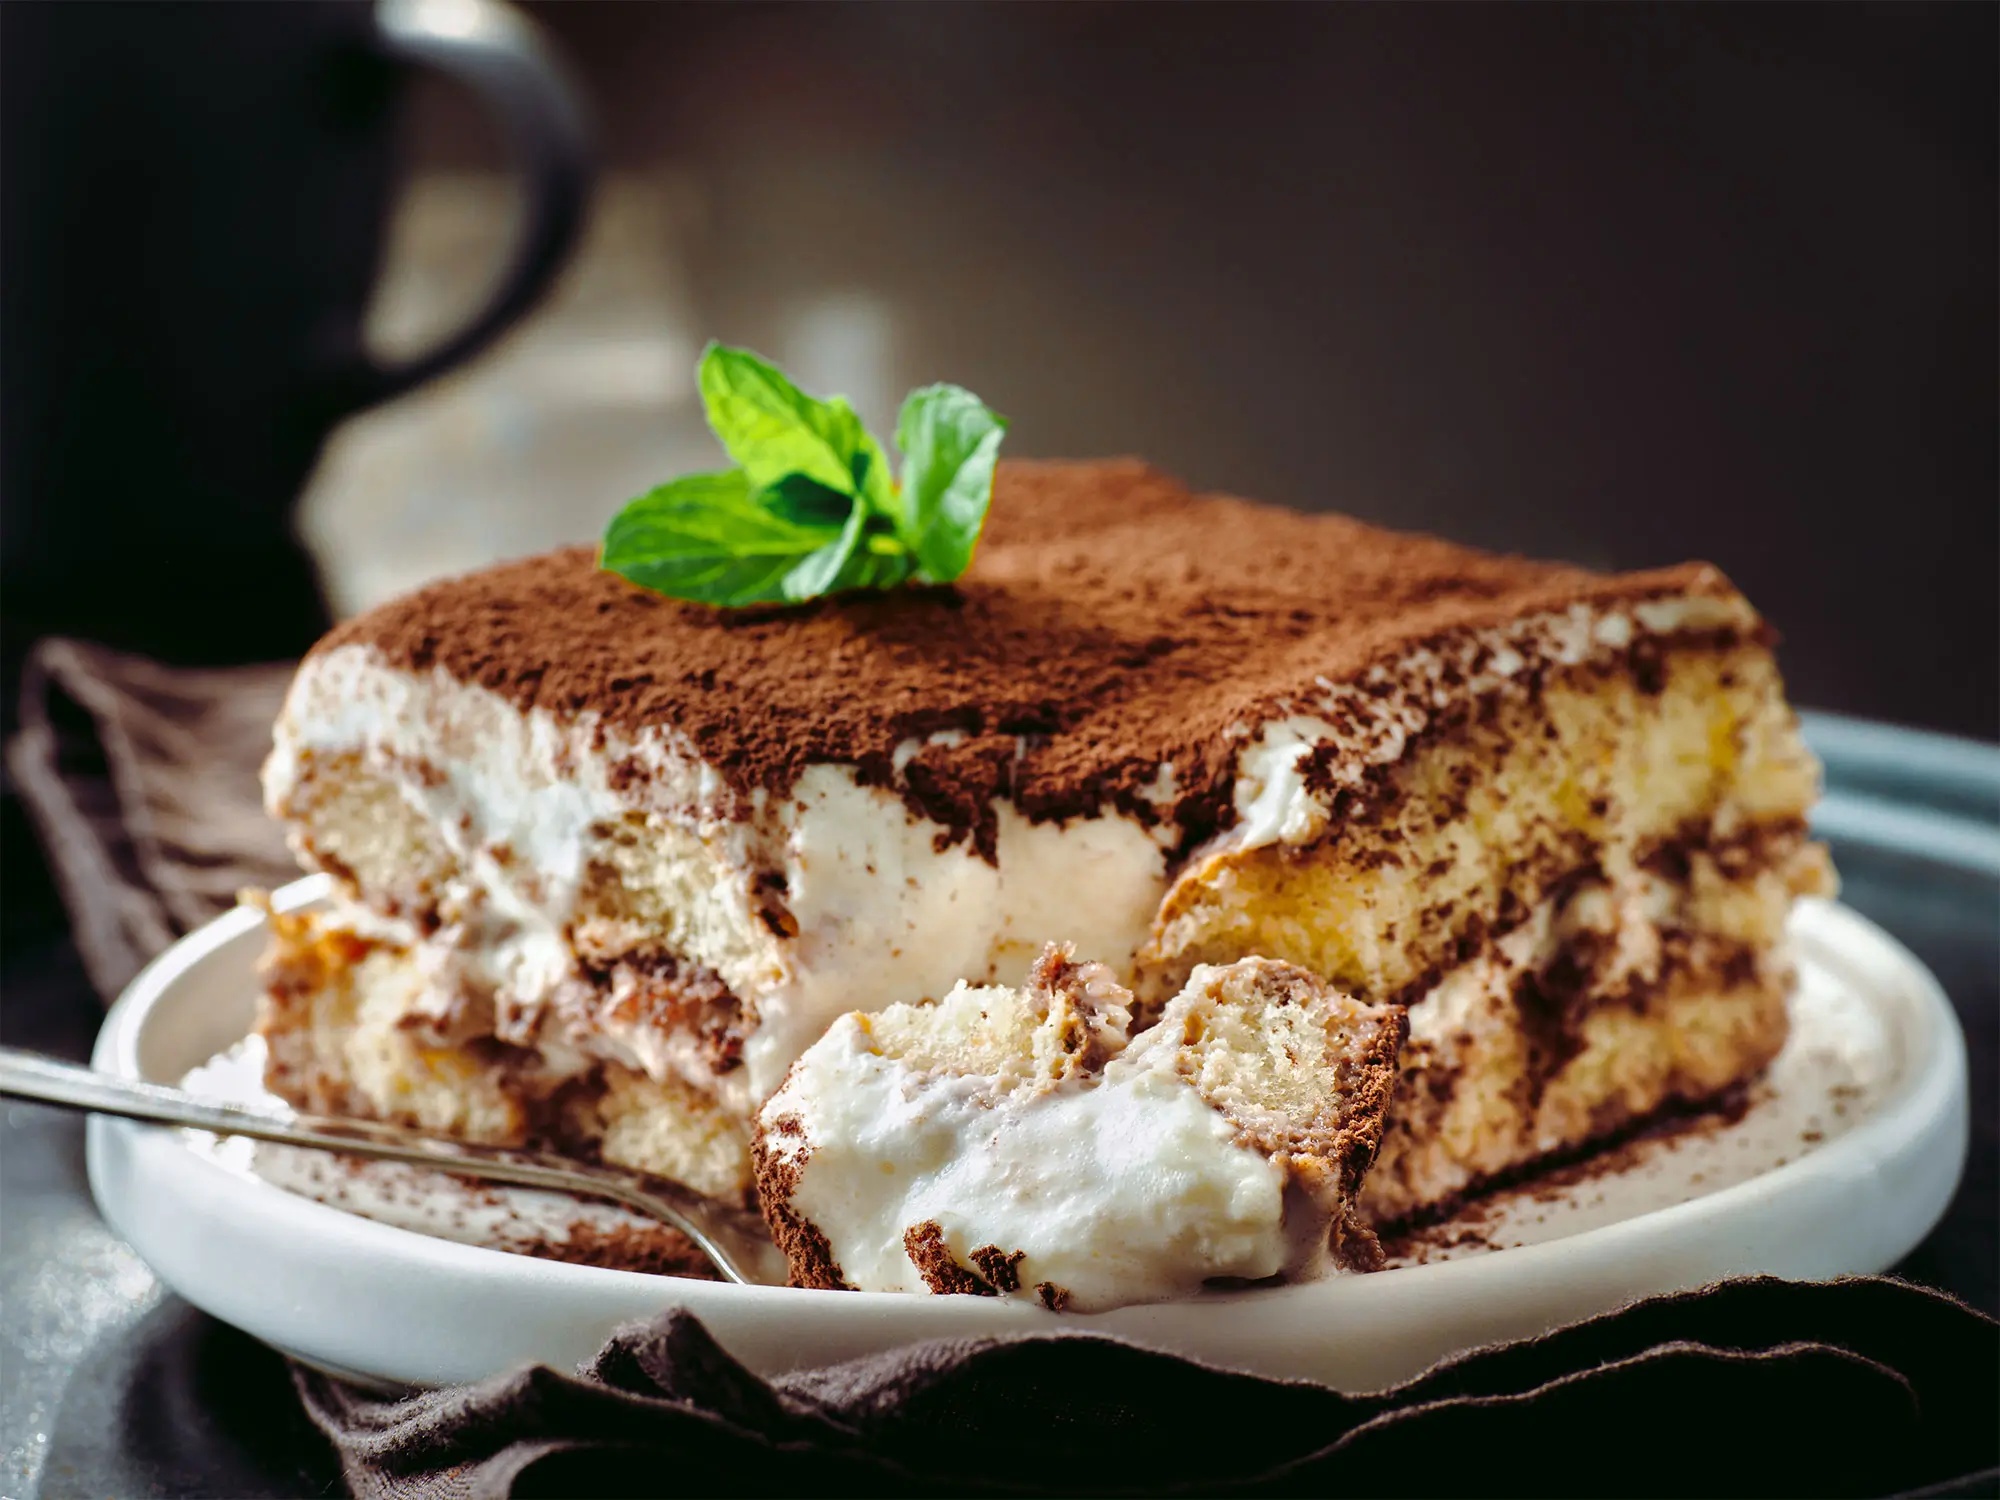
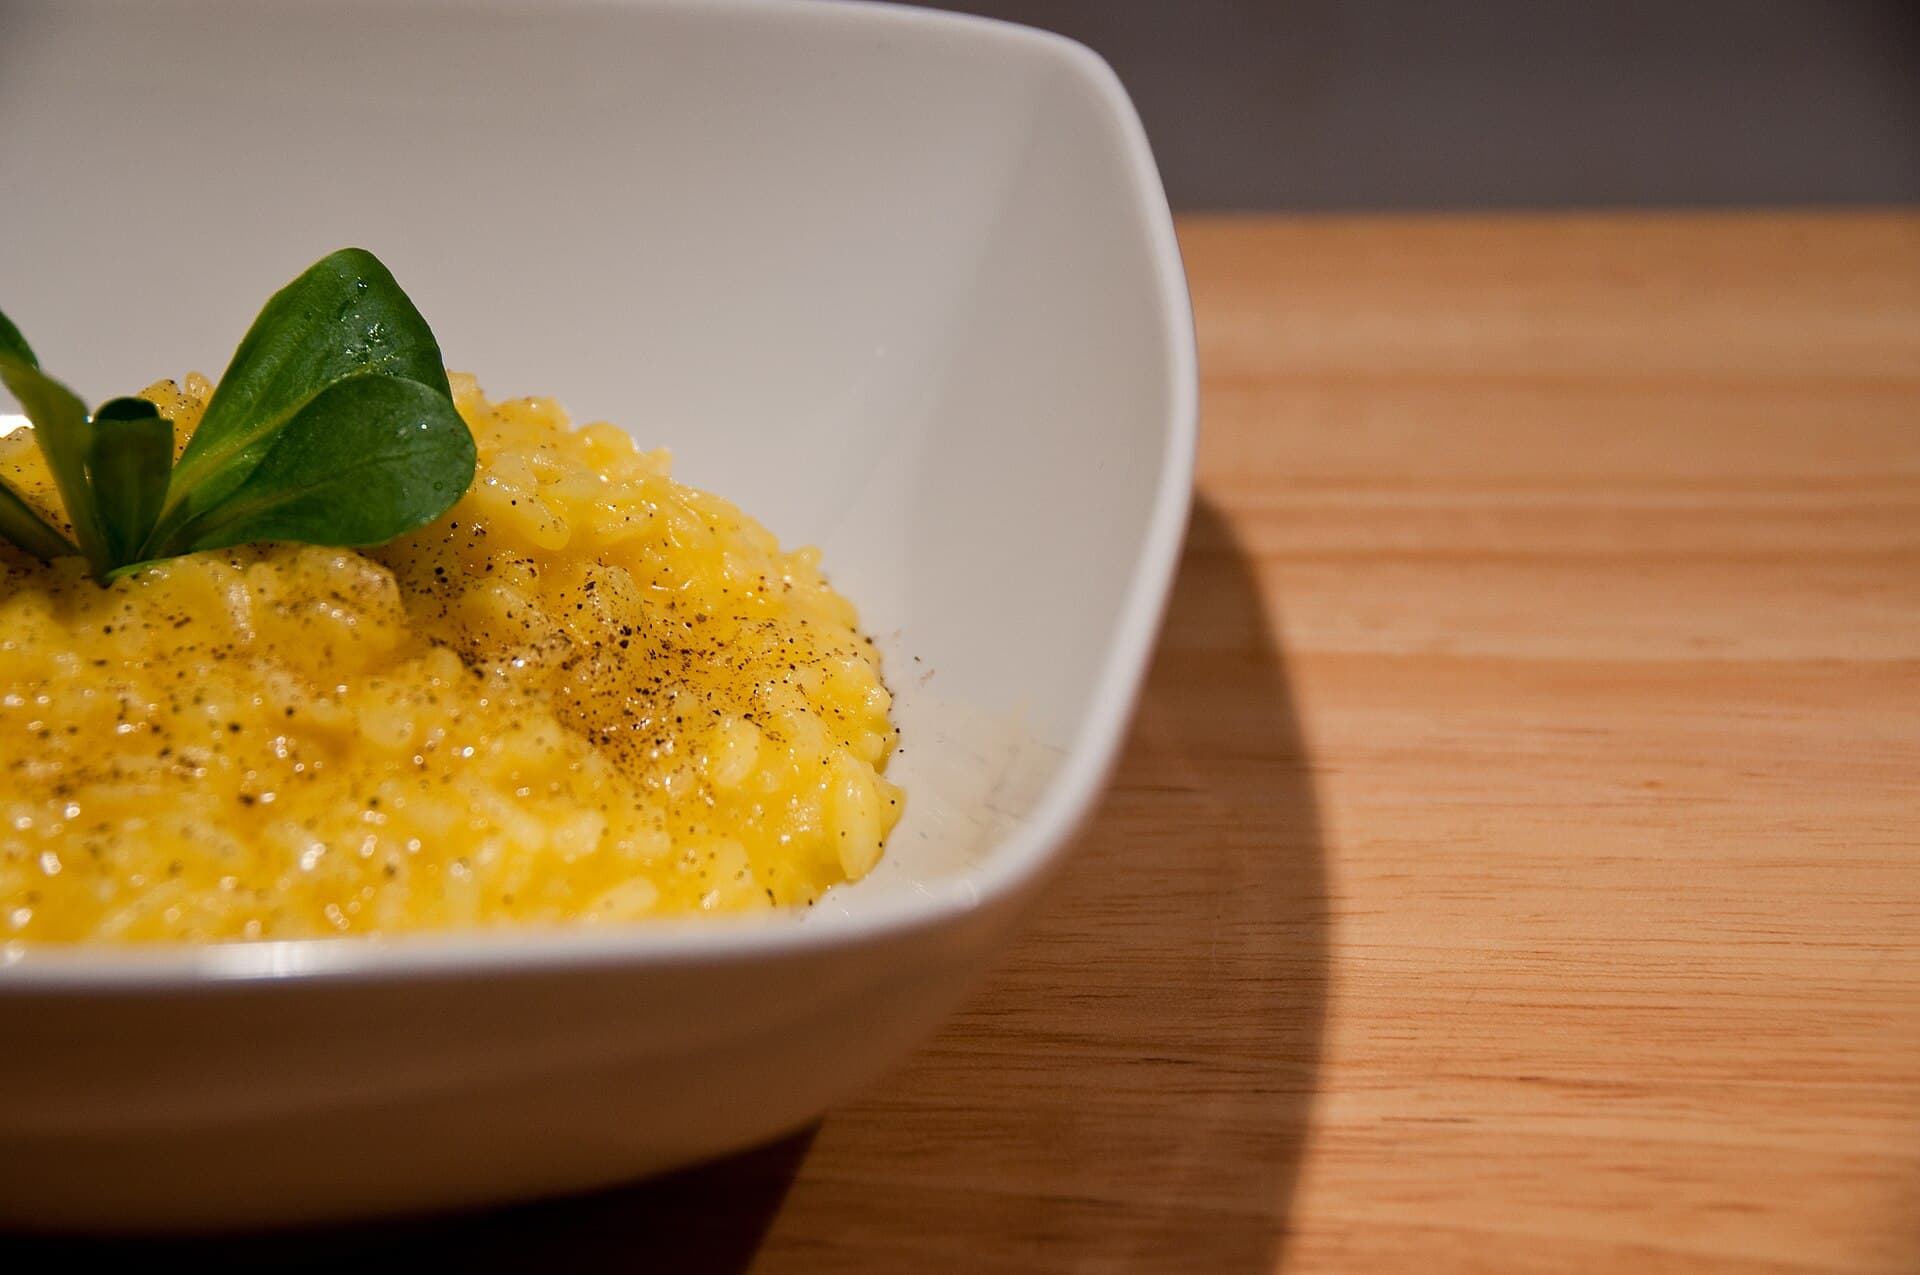
They also make the perfect end to a dinner with friends when you do not want to spend the whole evening on dessert. After a risotto allo zafferano, for example, a plate of cookies in the middle of the table feels just right. And if you want something more elaborate, there is always the tiramisù, which you can make the night before.
Why This Recipe Belongs in a Student Kitchen
Moving abroad can be strangely lonely, even when you are surrounded by people, as we wrote in the unexpected loneliness of being surrounded by people abroad. There are not many cures for that, but a plate of warm cookies is a surprisingly effective one. Nobody says no to a cookie, and nobody minds you knocking on their door to offer one.
If you share a kitchen, check the hidden social rules of shared student kitchens abroad before you take over the oven for an afternoon, and make sure the first tray goes to your flatmates. And on the evenings when everything feels a bit too much, baking a batch just for yourself is one of those little things that make living abroad feel like home.
Sources and Photo Credits
- Recipe: adapted from the Original Nestlé Toll House Chocolate Chip Cookies, converted to metric measurements.
- Cover: Cookie stack by Lisa Fotios, CC0, via Wikimedia Commons.
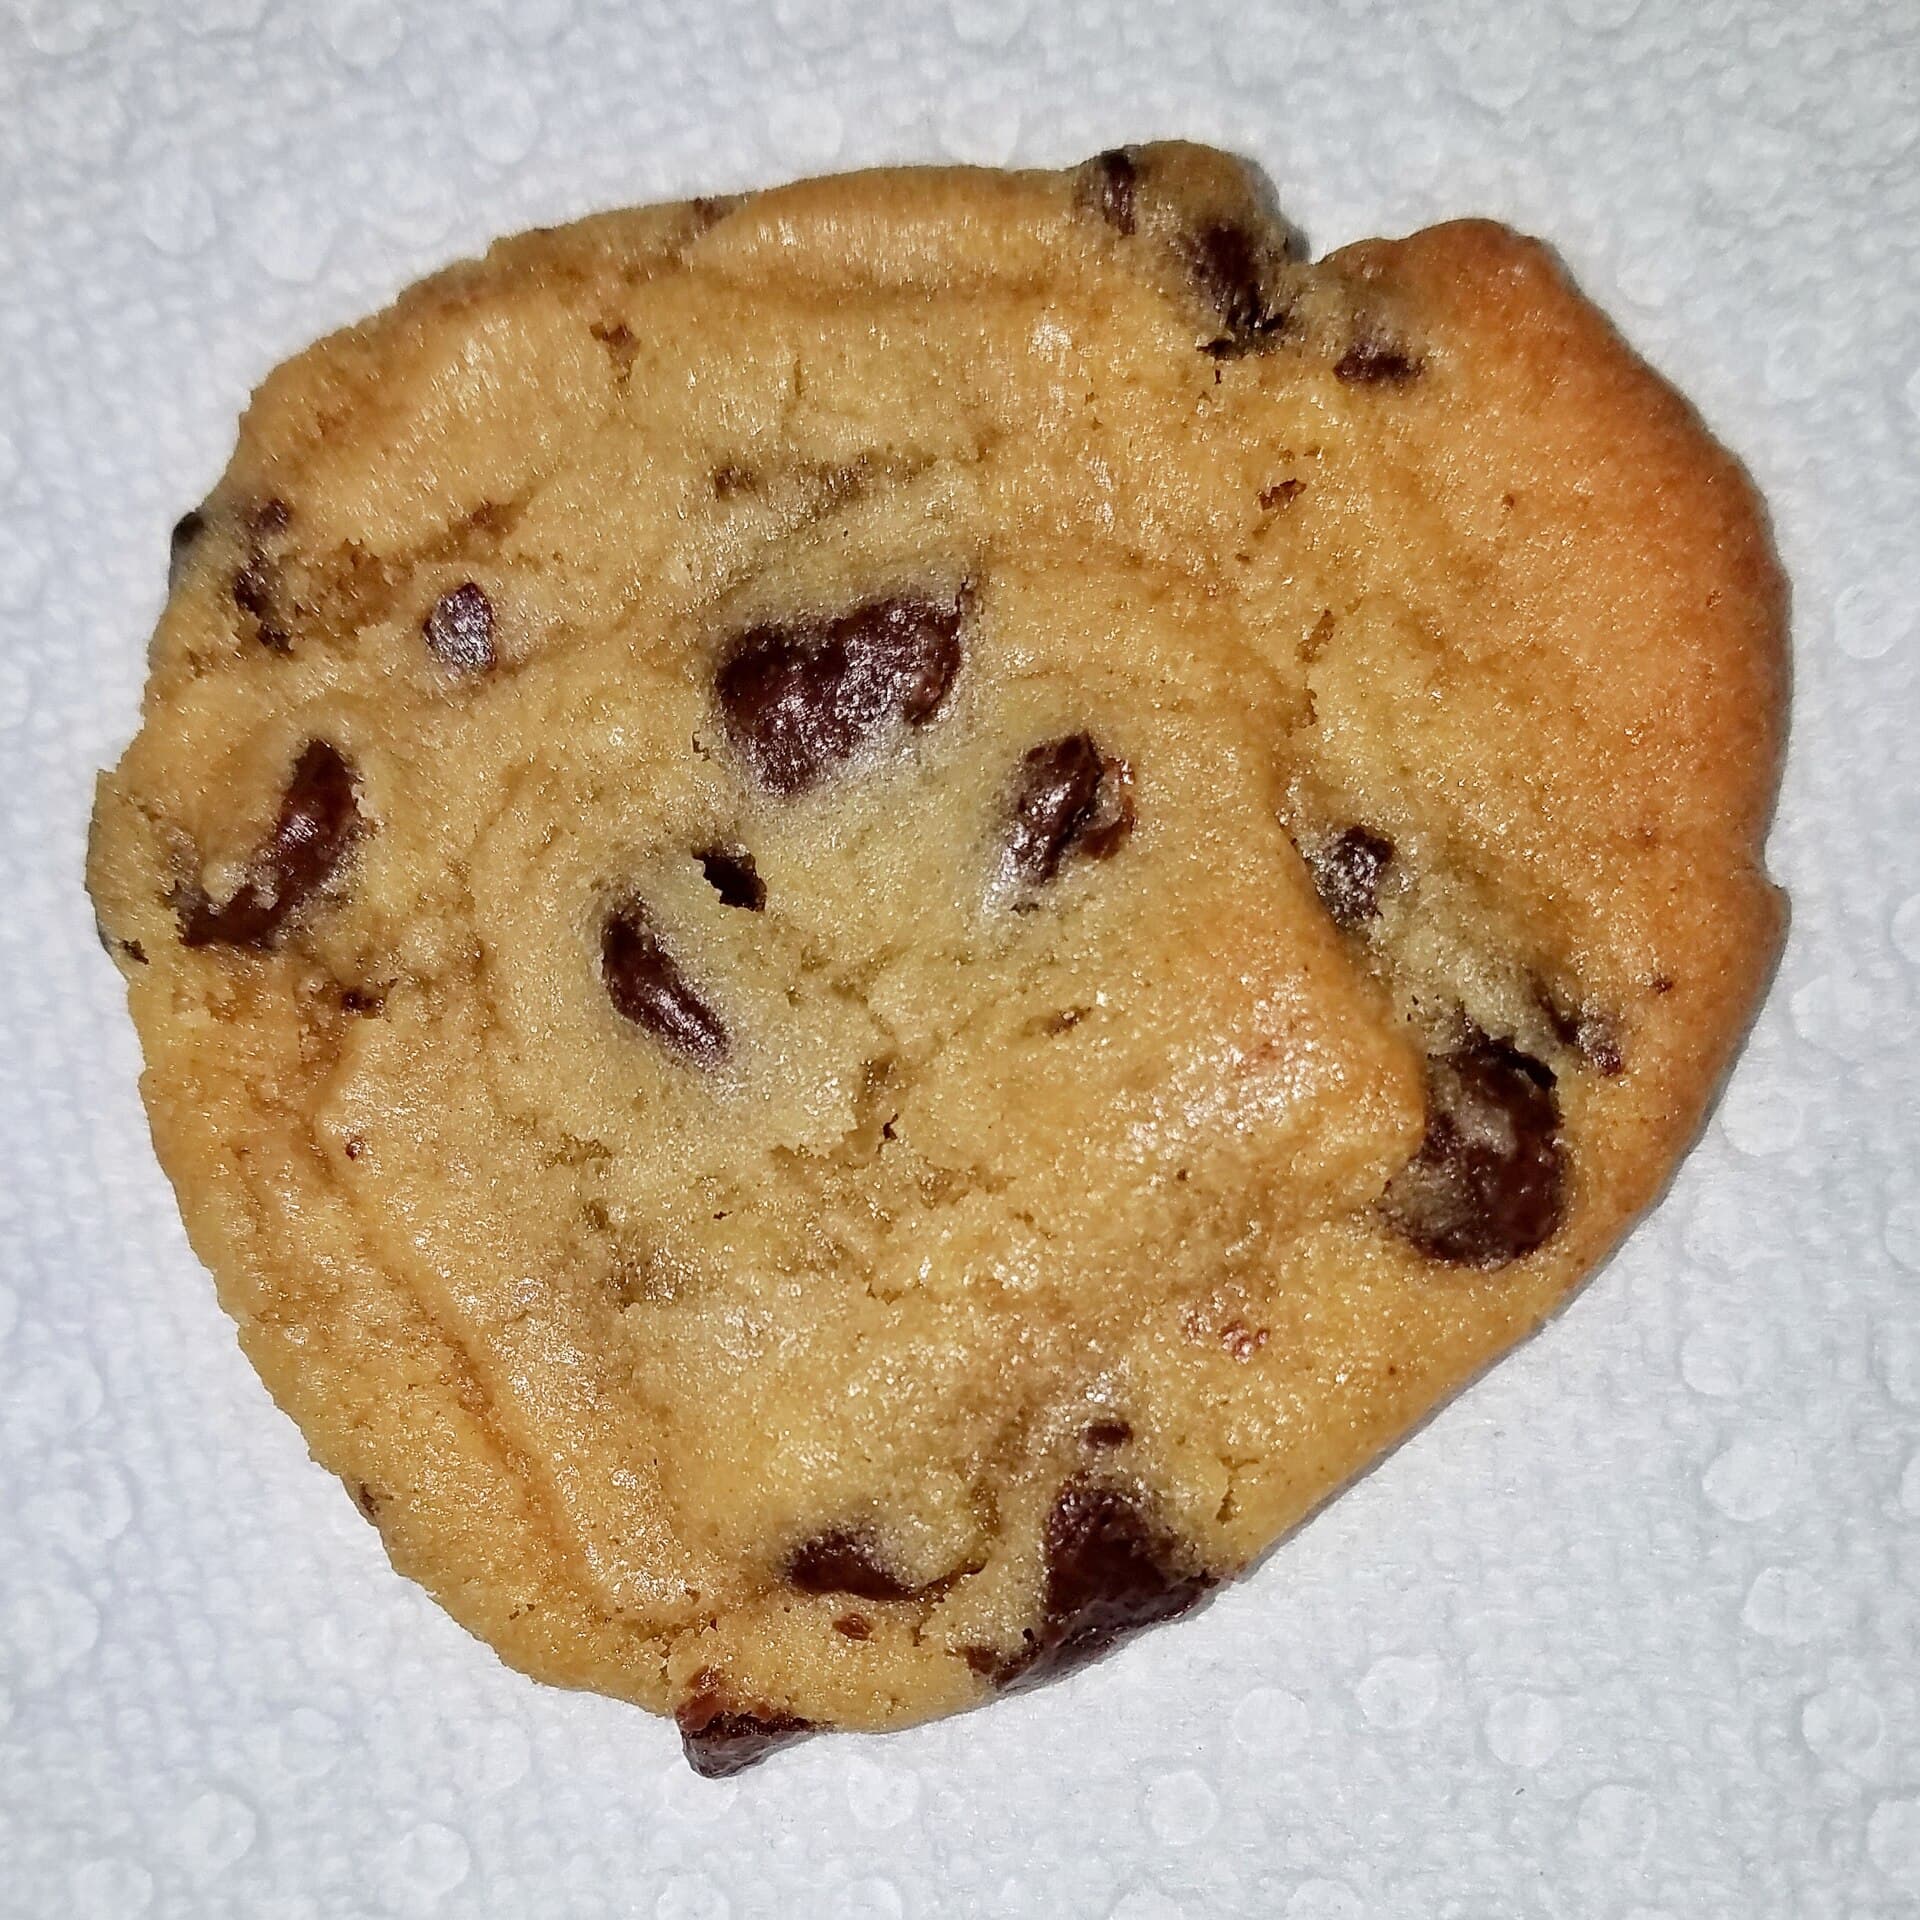
- Single cookie: Choc-Chip-Cookie by Evan-Amos, public domain, via Wikimedia Commons.
- Massachusetts cookie: Chocolate chip cookie, Massachusetts by Daderot, CC0, via Wikimedia Commons.
- Cookies with chopped chocolate: Chocolate chip cookies on cutting board by Mshuang2, CC0, via Wikimedia Commons.
- Cookies and milk: Milk and chocolate chip cookies by Picdrome, CC0, via Wikimedia Commons.
- Illustrations: © GR Stories.